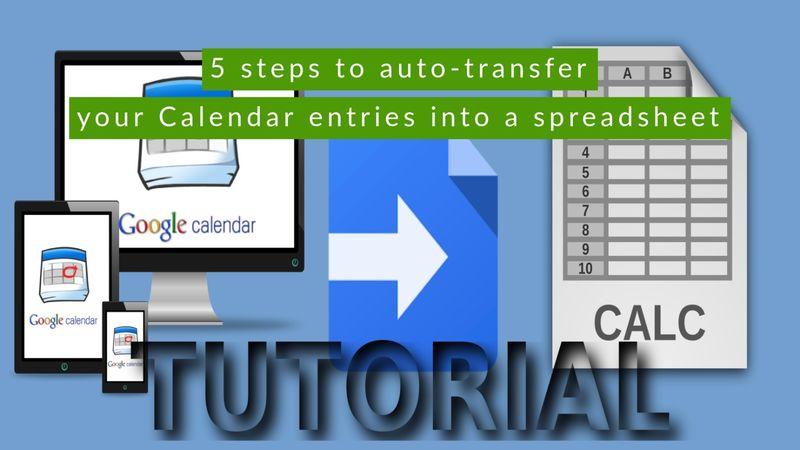
5 steps to auto-transfer your Calendar entries into a spreadsheet
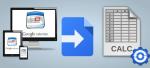
In the article and more accurately described in the video, I explain you how to export your calendar events into a spreadsheet using the Google Apps Script. Besides I show you the use of triggers to automate the update of the sheet when you change, add or remove an event.
Previously I have introduced the topic in the article An example on transfer entries from Calendar to Sheet through Google Apps Script, in which I have highlighted the powerful features of the script without falling in the details.
This time I will focus my attention on the configuration, execution and automation of the entire process starting from the original script (with some updates) written by Justin Gale and found here: Export Google Calendar Entries to a Google Spreadsheet.
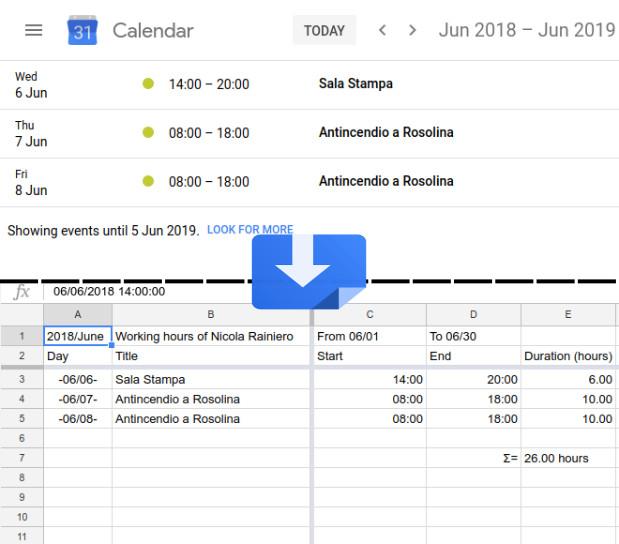
Once followed my guide you will be able to create a Google Sheet that imports the entries of your Calendar in an assigned period of time, formatted in this manner:
Requirements
- a Google account;
- an internet connection;
- a personal computer (only for the installation as some features are blocked in the mobile devices);
- a browser with the Google App (in this case: Calendar, Drive and Sheet).
Tutorial
The process can be summarised in 5 steps, in the video more below I will explain in details every point:
- in Google Calendar add a new calendar, copy the Calendar ID and type some events;
- in Google Drive create a new Blank Spreadsheet, open it and from the menu in the upper go to the Script editor;
- from my Github Account copy all the text of the file called Code_en.gs (English Version) or Code_it.gs (Italian Version) inside the Script editor;
- go in the Settings section and change the variables with your data, check the time zone offset (in my case Italy has UTC +2). The most important are:
- calendarID, with the calendar ID just created;
- sheetTitle, with the title of your spreadsheet;
- startingDate, the initial date in the period of interest;
- endDate, the end date in the period of interest.
- Give a name to your script in the upper left empty space, run it twice (Run -> Run function -> export_gcal_to_gsheet), the first one is necessary only to give the permission to the script; finally add a trigger (Edit -> Current project's triggers -> From calendar and put the Calendar ID instead of your email).
Video
If you want to see the entire process step by step, look at here:
P.S. This is the first video with my voice, so I want to apologize for my bad grammar, pronunciation and some embarrassment.
Download
You can find and test my Script on GitHub at the following link:
Coming soon
In the next weeks I am going to improve the script by adding new features, in particular the title of the articles may be:
- how to alternate background row colours when day changes;
- how to subdivide and count the hours in nocturnes (from 22 to 6 o'clock) and holidays;
- how to consider different type of shift depending on the label put in event title and sum it;
- how to make a sum considering all the introduced variables above;
- how to add a pie chart that summarise all the data.
Commenti
calendar used on the script
Hello,
When I added all day calendar event on jun 30 2021 with your script and somehow it calculated the event as "-203h". Can you help me here?
RE: calendar used on the script
Hello hyeran,
my script does not accept all day events, because I wrote it thinking of the accounting of my working shifts. I know it is a limitation and I don't remember if I mentioned it in my articles. So I suggest you to define a starting and ending time for your items.


Aggiungi un commento